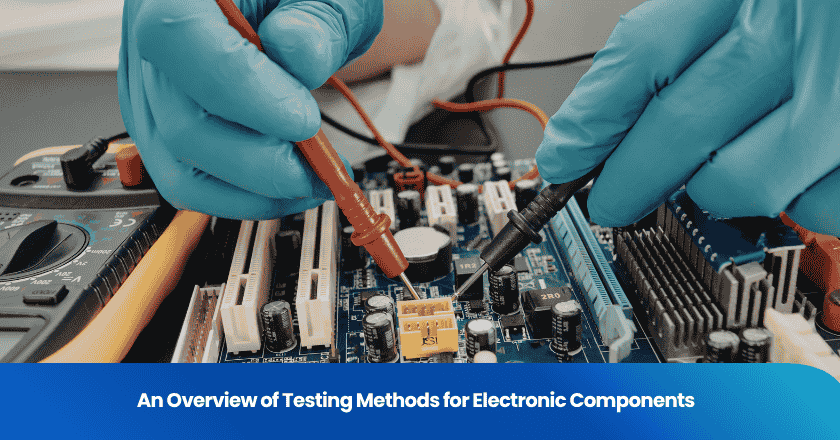
You play a crucial role in ensuring product quality by using three main types of parts inspection: visual, dimensional, and functional. Each type targets a different aspect of quality. Visual inspection helps you spot surface defects like scratches and cracks. Dimensional inspection checks if each part matches design specifications, which matters most for components that require a precise fit. Functional inspection tests if a part works correctly, such as making sure an appliance operates without failure.
Inspections remain the backbone of manufacturing quality control. You may also encounter other inspection types, including pre-production, during production, and final inspections. These approaches help you catch problems early and maintain high standards.
Visual Parts Inspection
Definition
Visual parts inspection allows you to identify surface-level defects and irregularities in manufactured components. You rely on your eyes or specialized imaging systems to examine the external condition of each part. This method plays a critical role in part inspection by helping you catch issues like cracks, scratches, dents, and corrosion before they impact product performance or safety. Visual inspections form the foundation of quality control, especially when you need to ensure that parts meet appearance and structural standards.
Inspection Process
You start the inspection process by preparing the workspace and ensuring proper lighting. You may use magnifying glasses, microscopes, or advanced machine vision systems with high-resolution cameras. These tools help you spot even the smallest defects, such as misalignments or soldering issues in electronics. During the inspection, you look for:
- Cracks and scratches on surfaces
- Dents, corrosion, or signs of wear
- Misalignments or incomplete assembly
- Discoloration or contamination
Machine vision systems can enhance your inspection processes by using image processing algorithms to detect subtle flaws that might escape the human eye. You document any defects and decide whether the part passes, needs rework, or requires replacement.
Advantages & Limitations
Visual part inspection offers several benefits and some challenges. The table below summarizes the main points:
| Pros | Cons |
|---|---|
| Improved Clarity & Contrast | Lighting Setup Complexity |
| Higher Sensitivity | Training Requirements |
| Cost-Effective | Environmental Sensitivity |
| Versatile | Limited Depth of Field |
You find this method cost-effective and versatile, making it suitable for many industries. However, you may face challenges with lighting, training, and environmental factors. In electronics manufacturing, shrinking components and varied defect types can complicate inspections, especially when you need to identify solder joint defects or misalignments.
Use Cases
You use visual inspections across a wide range of industries and applications. Here are some examples:
| Industry | Application |
|---|---|
| Automotive | Detecting paint defects and alignment issues in vehicle components. |
| Aerospace | Identifying cracks and stress fractures in aircraft parts to ensure flight safety. |
| Oil and Gas | Inspecting pipelines for corrosion and leaks, and monitoring storage tanks for wear. |
| Pharmaceuticals and Medical Devices | Ensuring products are free from contamination and verifying proper assembly of medical devices. |
| Construction | Assessing structural integrity of buildings and infrastructure for compliance with building codes. |
You also rely on visual part inspection for maintenance inspection tasks, such as monitoring equipment for wear and tear. Regular inspections help you maintain equipment condition, reduce downtime, and extend the lifespan of critical assets. By identifying defects early, you lower costs associated with rework and scrap, and you protect your reputation by delivering high-quality products.
Dimensional Part Inspection
Definition
Dimensional part inspection ensures that every component matches the exact measurements and tolerances specified in engineering drawings. You use this process to confirm that each part fits and functions as intended within an assembly. By measuring every dimension, feature, and tolerance, you maintain strict compliance with design requirements and prevent costly errors in production.
Tools & Methods
You rely on a range of equipment and techniques to perform accurate dimensional inspections. Common tools include:
- Precision hand tools
- Calipers and micrometers
- Gauges (fixed and adjustable)
- Coordinate measuring machines (CMMs)
- Contact sensor systems
- Noncontact optical sensor systems
- Optical comparators
- Vision systems
- Laser and structured-light 3D scanners
- Pneumatic measurement devices
You often use First Article Testing (FAT) to verify that initial production items meet all contract and design requirements. This process involves technical data review, visual examination, detailed dimensional inspection, and high-accuracy measurements. Production Lot Testing (PLT) helps you maintain quality by periodically testing random samples and performing detailed analysis.
Benefits & Challenges
Dimensional part inspection gives you confidence that parts will assemble correctly and perform reliably. You reduce the risk of assembly failures and improve overall quality control. However, you must remain aware of common measurement errors:
1. Angular misalignment
2. Variable contact pressure
3. Parallax error
Even minor mistakes can lead to rejected batches and wasted resources. Errors in geometric dimensioning and tolerancing (GD&T) can cause part rejection, production delays, and functional failures.
Practical Applications
You use dimensional inspections in industries where precision matters most. In aerospace, you check every critical measurement to ensure flight safety. In automotive manufacturing, you verify that engine parts fit together perfectly. You also apply these inspection processes in maintenance inspection routines to monitor equipment condition and prevent breakdowns.
By following these standards, you ensure that your parts inspection meets global expectations and supports reliable maintenance across markets.
Functional Part Inspection
Definition
Functional part inspection checks if each component performs its intended task under real-world conditions. You use this method to verify that a part not only looks correct and fits properly but also operates as designed. This type of part inspection focuses on performance, safety, and reliability. You ensure that every part meets operational requirements before it enters service or assembly.
Inspection Steps
You follow a structured process to carry out functional inspections. Each step helps you confirm that the part will work as expected in its final application.
| Step | Description |
|---|---|
| 1 | Validate engineering documentation |
| 2 | Develop an inspection plan |
| 3 | Conduct dimensional and visual inspections |
| 4 | Perform functional and performance testing |
| 5 | Test the part under operating conditions to verify its performance requirements |
| 6 | Confirm operational function, safety features, interfaces, assembly fit, environmental responses, speed, load endurance, efficiency, reliability, and tolerance under extremes |
You often use specialized equipment to simulate real operating environments. This approach helps you identify issues that may not appear during earlier inspections.
Importance
Functional part inspection plays a vital role in quality control. You protect users and maintain safety standards by ensuring that each part works as intended. In industries like aerospace, you must verify operational integrity and compliance with strict regulations. Functional inspections also support maintenance by confirming that equipment remains in good condition and ready for use. You reduce the risk of failures and extend the lifespan of critical assets through regular maintenance inspection.
Real-World Scenarios
You encounter functional testing in many manufacturing sectors. In automotive production, you test components such as engine control modules, airbag units, tire pressure systems, and infotainment devices.
In aerospace, you inspect engines and avionics to ensure safety and regulatory compliance. You also use functional part inspection in maintenance routines to monitor equipment condition and performance. By integrating these inspection processes, you maintain high standards and support reliable operation across industries.
Types of Inspections Compared
Visual vs Dimensional vs Functional
You encounter three main types of inspections in manufacturing: visual, dimensional, and functional. Each method serves a unique purpose and addresses different aspects of quality control. Visual inspection allows you to detect surface defects and monitor the condition of manufactured parts. Dimensional inspection ensures that every part matches design specifications, preventing assembly problems and functional failures. Functional inspection verifies that components operate as intended, supporting safety inspections and maintenance programs.
You use these inspections together to maintain high standards and ensure equipment reliability.
When to Use Each Type
You select the appropriate part inspection method based on your goals and the stage of production. Visual inspection works best for regular inspections and maintenance inspection tasks, especially when you need to monitor the condition of equipment or identify obvious defects. Dimensional inspection is essential when you must guarantee precise fits and compliance with technical drawings. Functional inspection becomes critical for safety inspections and when you need to confirm that parts perform under real operating conditions. You often combine these types of inspections to create a comprehensive maintenance program and support predictive maintenance strategies.
Automated Part Inspection Overview
Automated part inspection is transforming manufacturing workflows. You benefit from continuous real-time defect detection and higher accuracy, especially when using AI-powered systems. These technologies scale easily to meet production demands and reduce labor costs over time. More than half of industrial manufacturers now use automated part inspection, with machine vision systems integrated into over 50% of quality control processes. By 2025, you can expect even greater adoption of machine vision cameras and AI-driven sensors.
Automated inspection systems integrate seamlessly with existing equipment and manufacturing software. You receive real-time feedback and can adjust processes instantly, which enhances efficiency and supports non-destructive testing methods.
Recent advancements include digital integration, predictive analytics, and digital twins. These innovations help you shift from reactive to proactive strategies, optimize workflows, and reduce errors. You improve maintenance and safety standards by leveraging automated part inspection for manufactured parts and equipment.
You rely on visual, dimensional, and functional part inspection to maintain high standards in quality control in manufacturing. Selecting the right inspection type for each scenario ensures your equipment stays in optimal condition and supports effective maintenance. Integrating these inspections into your maintenance program improves safety inspections and maintenance inspection outcomes. Automated systems and AI-driven inspections help you catch defects early, extend equipment lifespan, and enhance operational efficiency.
Grow your business with TradeAider Service
Click the button below to directly enter the TradeAider Service System. The simple steps from booking and payment to receiving reports are easy to operate.


