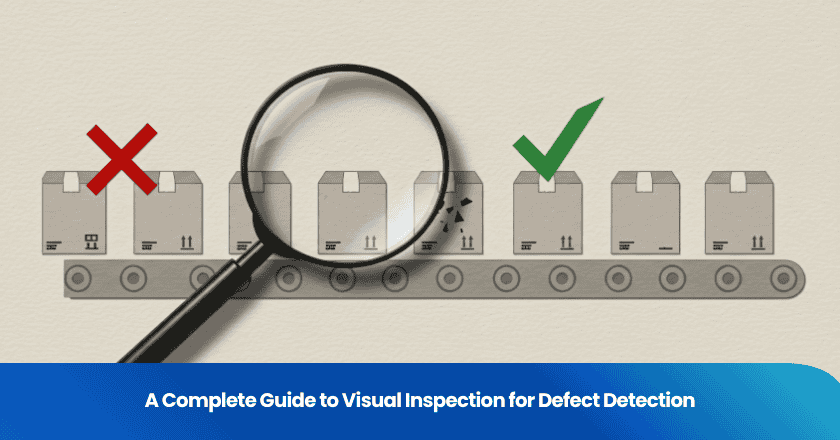
Imagine you work on a production line where every second counts. You rely on visual inspection to spot flaws before products reach your customers. This process stands as the foundation of defect detection and quality assurance. Visual methods let you catch surface issues quickly, while other NDT techniques, like ultrasonic testing, focus on deeper, hidden flaws. You see the impact of real-time defect detection in industries worldwide. The rise of automated and AI-powered systems means you now benefit from real-time defect detection, faster analysis, and higher accuracy. As visual technology advances, you witness real-time defect detection transforming defect inspection and ensuring consistent quality.
Key Takeaways
- Visual inspection is a quick and cost-effective method for detecting surface defects in products.
- Automated visual inspection systems enhance accuracy and speed, reducing inspection times significantly.
- Proper lighting and environmental controls are essential for effective visual inspections.
- Combining traditional and automated methods improves overall quality assurance and reduces downtime.
- Training and clear procedures are crucial for successful implementation of visual inspection systems.
Visual Inspection and Defect Detection
What Is Visual Inspection
You use visual inspection as a primary method for identifying flaws on the surface of materials, components, or finished products. This process relies on your ability to observe and assess visible characteristics, often with the help of simple tools like magnifiers or advanced digital imaging systems. Visual inspection stands apart from other ndt methods because it focuses on surface-level issues rather than internal or subsurface defects. You can see the differences in application and outcomes when you compare visual inspection to other ndt techniques:
| Aspect | Visual Inspection | Other NDT Methods |
|---|---|---|
| Complexity | Simple and quick | More complex and time-consuming |
| Cost | Low cost | Higher cost due to equipment and time |
| Detection Capability | Surface defects only | Internal and subsurface defects |
| Equipment Required | Minimal (naked eye, magnifying tools) | Specialized equipment needed |
| Application | Preliminary inspections | Detailed evaluations |
You often start with visual inspection as the first step in the defect inspection process. This approach lets you identify obvious flaws quickly and cost-effectively. In many industries, you rely on visual inspection for its speed and simplicity, especially when you need to perform frequent inspections as part of your quality control routine.
Role in Defect Inspection
Visual inspection plays a critical role in defect inspection by allowing you to detect a wide range of surface defects. You can identify scratches, cracks, misalignments, and cosmetic imperfections that may affect product performance or appearance. In industrial settings, you often encounter these common issues:
- Surface defects such as scratches and inconsistencies
- Alignment issues in components
- Cracks or surface damage during manual inspections
- Cosmetic defects in packaging, including problems with rubber stoppers and aluminum rings
- Solder joint defects in PCB manufacturing, such as cold solder joints and solder bridges
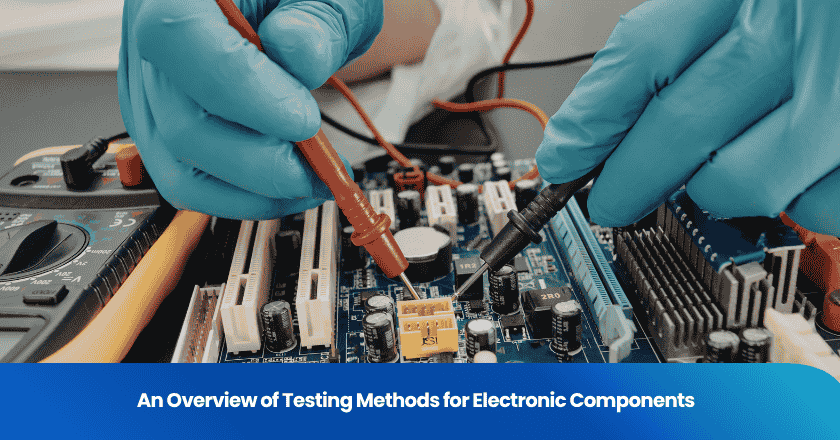
During visual PCB inspection, you often find solder joint issues, component misplacement, and manufacturing errors. These defects can significantly impact the performance and reliability of electronic boards.
You depend on visual inspection to ensure that products meet quality control standards before they move to the next stage of production. While visual inspection excels at detecting surface-level problems, you turn to other ndt methods for internal or hidden flaws. This combination of approaches gives you a comprehensive defect inspection strategy.
However, you should recognize that visual inspection has some limitations. It cannot detect internal defects, and its accuracy depends on your experience and the quality of lighting conditions. Inconsistent lighting or inspector fatigue can affect the results. Despite these challenges, visual inspection remains a cornerstone of defect inspection due to its accessibility and effectiveness.
Benefits for Quality Assurance
You gain several advantages when you use visual inspection as part of your quality control process. This method delivers unmatched detection accuracy for surface-level defects and supports continuous operation without human error when automated systems are in place. You also benefit from substantial cost savings, as visual inspection requires minimal equipment and reduces the need for expensive ndt tools.
- Unmatched detection accuracy for surface flaws
- Enhanced production speed through rapid inspections
- Continuous operation, minimizing human error
- Substantial cost savings in equipment and labor
- Protection against risk and liability
- Support for regulatory compliance
- Operational flexibility for various inspection needs
- Data-driven insights for strategic decision-making
You see these benefits in action across multiple industries. In the aerospace sector, automated visual inspection systems help you detect surface defects on equipment, ensuring safety and performance. In home goods manufacturing, you use these systems to check material quality and dimensional accuracy, allowing you to identify issues in real time. In the food and beverage industry, visual inspection ensures proper labeling and packaging integrity, helping you meet safety standards and consumer expectations. In the pharmaceutical sector, automated inspections help you identify labeling errors and packaging defects, supporting strict regulatory requirements.
Automated visual inspection systems can perform multiple inspections per second, which significantly increases production speed. In automotive manufacturing, machine vision systems have reduced inspection times by 50%. In semiconductor manufacturing, AI-enhanced systems have reduced inspection time by 60%. These improvements lead to higher defect detection rates and improved detection of quality issues, strengthening your overall quality control efforts.
By integrating visual inspection into your defect inspection workflow, you ensure that your products consistently meet high standards of quality and reliability.
Types of Visual Inspection Methods
You encounter several visual inspection methods in modern quality assurance. Each method offers unique strengths and fits specific defect detection workflows. Understanding these categories helps you select the right approach for your inspection needs.
| Category | Definition |
|---|---|
| Traditional Visual Inspection | Involves direct observation of an object or process to identify defects or non-conformance to standards. |
| Automated/Remote Visual Inspection | Utilizes advanced technologies like AI, machine learning, and remote tools (e.g., drones) for precise and efficient inspections. |
Direct Visual Inspection
Direct visual inspection remains the most straightforward approach. You rely on your eyes, sometimes with simple optical aids, to examine surfaces for flaws. This method works best for detecting obvious surface defects and provides immediate feedback. You can quickly identify scratches, cracks, or misalignments without complex equipment.
You benefit from the simplicity and low cost of direct visual inspection. However, you may miss subtle or hidden defects, especially in complex assemblies. Inspector skill and lighting conditions can also affect your results.
Remote Visual Inspection
Remote visual inspection (RVI) uses cameras, borescopes, drones, or robotic systems to inspect areas that are difficult or unsafe to access directly. You often choose this method when direct inspection poses safety risks or when components are inaccessible.
- You use RVI in hazardous environments.
- You inspect remote or confined spaces, such as pipelines or tunnels.
- You evaluate inner components of technical infrastructure.
- You avoid costly disassembly by using RVI for hard-to-reach locations.
This method enhances safety and efficiency. You can perform inspections without exposing yourself to danger or interrupting operations. RVI also allows you to document findings with digital images or video, supporting traceability and compliance.
Automated Visual Inspection Systems
Automated inspection systems transform your defect detection process. These systems use cameras, sensors, and advanced algorithms to inspect products at high speed and with high accuracy. You deploy automated inspection systems to achieve nonstop throughput and consistent results.
- You gain higher accuracy and consistency.
- You achieve 24/7 inspection throughput.
- You reduce long-term operational costs.
- You improve workplace safety by minimizing manual intervention.
- You collect valuable data for traceability and analysis.
- You scale inspection capacity as production grows.
- You strengthen compliance with industry standards.
Automated inspection systems deliver improved defect detection capabilities. You lower scrap rates, reduce rework, and protect your revenue by catching defects early. You also free up skilled workers to focus on more complex tasks, increasing overall efficiency.
Enhanced Techniques in Defect Detection
Enhanced visual inspection leverages AI, machine learning, and multimodal imaging to push the boundaries of defect detection. You use these advanced systems to adapt to product variations and maintain high inspection accuracy under changing conditions.
- Enhanced visual inspection adapts to lighting and vibration changes, ensuring reliable results.
- AI-driven systems provide consistent, objective inspections, reducing human subjectivity.
- Deep learning detects subtle differences in visual data, minimizing false positives.
- Multimodal analysis combines different imaging techniques, revealing defects invisible to standard methods.
- Continuous learning from large datasets refines algorithms and forecasts defect trends.
You benefit from enhanced visual inspection by achieving greater accuracy and reliability. These systems help you identify even the most subtle defects, improving product quality and reducing the risk of recalls. You also gain insights that support continuous improvement in your manufacturing processes.
Tip: By combining automated inspection systems with enhanced visual inspection, you create a robust defect detection workflow that adapts to evolving production challenges.
You now have a clear understanding of the main visual inspection methods. Each approach plays a vital role in your inspection strategy, helping you maintain high standards of quality and safety.
Tools and Technologies for Defect Inspection
Optical Aids and Devices
You rely on a range of optical aids and devices to enhance your visual inspection ndt process. These tools help you spot surface flaws and improve the accuracy of your quality inspection systems. Commonly used devices include:
- Flashlights that provide better illumination for detailed checks
- Magnifying glasses that reveal microscopic surface irregularities
- Mirrors that let you view hard-to-see areas
- Cameras that document findings for further image analysis
Magnifying glasses and digital microscopes play a key role in visual inspection technology. They allow you to examine surfaces at different magnification levels, ensuring thorough defect detection. Proper use of these aids supports your inspection workflow and increases the reliability of your visual inspection ndt.
Digital Imaging and Visual Inspection NDT
Digital imaging has transformed visual inspection ndt. You use high-resolution cameras and digital microscopes to capture detailed images of components. These images feed directly into quality inspection systems, where automated inspection systems perform rapid image analysis. This approach helps you identify defects that might escape the naked eye.
Manufacturers now adopt machine vision solutions that combine hardware and software. These systems improve the speed and accuracy of your visual inspection technology. You can store, review, and share inspection data, making your defect detection process more efficient.
AI-Powered Quality Inspection Solutions
You see ai-powered quality inspection solutions leading the next wave of visual inspection ndt. These systems use ai and deep learning to analyze images and detect subtle defects. Key benefits include:
- Enhanced detection accuracy, supporting you in finding issues that manual inspection might miss
- Increased efficiency and cost savings, as ai-powered systems speed up production and reduce labor needs
- Real-time monitoring, allowing you to catch defects before products move further down the line
- Scalability, so you can deploy quality inspection systems across multiple production lines
Automated inspection systems use convolutional neural networks for image detection system tasks, achieving over 99% accuracy. Real-time defect detection and predictive quality management help you maintain high standards. Ai-powered analysis gives you insights for continuous improvement.
Tip: Integrate ai-powered quality inspection with your existing visual inspection ndt to maximize efficiency and accuracy.
Lighting and Environmental Controls
Lighting and environmental controls are essential for effective visual inspection ndt. Proper lighting techniques enhance your ability to spot defects. You should conduct inspections during times with minimal glare and use controlled lighting indoors. Stable weather conditions improve imaging for outdoor inspections.
Environmental factors such as ambient light, temperature, and humidity can affect your quality inspection systems. High temperatures may shorten the lifespan of light sources, while humidity can fog lenses. Dust and particulates scatter light, reducing image clarity. You must manage these factors to ensure your automated inspection systems deliver reliable results.
Note: Consistent lighting and environmental controls help your visual inspection technology maintain high performance.
Implementing Automated Visual Inspection
Best Practices for Deployment
You achieve successful deployment of automated inspection systems by following proven best practices. Start by clearly defining your inspection requirements. This step helps you select the right automated inspection systems for your visual inspections. Begin with pilot projects to demonstrate value and refine your approach. Ensure proper lighting and imaging conditions to optimize performance. Develop comprehensive training programs for operators and maintenance staff. Establish clear procedures for handling and documenting defects. Continuously collect and analyze data to improve both inspections and production processes. Maintain regular communication between quality, production, and engineering teams.
1. Define inspection requirements before selecting automated inspection systems.
2. Launch pilot projects to validate defect detection and refine your process.
3. Optimize lighting and imaging for reliable visual inspections.
4. Train operators and maintenance staff thoroughly.
5. Document defects with clear procedures.
6. Use real-time analytics to improve inspections and production.
7. Communicate regularly across teams to support automated inspection systems.
Integration with Existing Systems
You often face integration challenges when implementing automated inspection systems with your current infrastructure. Compatibility with older systems may require significant customization. Modular AI architectures and API tools help you integrate automated inspection systems without major changes. Edge AI enables local data processing and decision-making, reducing reliance on centralized systems.
| Challenge | Description |
|---|---|
| Compatibility with Older Systems | Significant complexity and customization are required for AI systems to work with legacy systems. |
| Modular AI Architectures | Modular systems and API tools facilitate integration without overhauling existing infrastructure. |
| Edge AI | Enables local data processing and decision-making, reducing reliance on centralized systems. |
Tip: Use modular automated inspection systems and edge AI to streamline integration and support real-time analytics.
Overcoming Common Challenges
You can overcome common challenges in deploying automated inspection systems by taking a proactive approach. Conduct thorough compatibility assessments before purchasing new systems. Verify vendor track records by checking references and case studies. Ensure adequate training support for users. Balance cost with features, scalability, and compliance. Choose solutions that adapt to emerging standards and technologies.
- Assess compatibility before purchasing automated inspection systems.
- Check vendor references and case studies for reliability.
- Provide thorough training for users and maintenance staff.
- Balance cost with scalability and compliance.
- Select automated inspection systems that support future standards and real-time analytics.
You maximize performance and reliability by following these strategies. Automated inspection systems enhance defect detection, streamline visual inspections, and deliver actionable insights through real-time analytics.
Industry Applications and Examples
Manufacturing and Production
You play a vital role in maintaining quality by using visual inspection to detect manufacturing defects on the production line. Automated systems capture images of products as they move, analyzing them for scratches, cracks, or missing parts. This process ensures that only items meeting your standards reach customers. You can integrate these systems into existing lines with minimal disruption, keeping production speed high while improving quality control. When you track repeated manufacturing defects, you gain valuable data for root cause analysis and continuous improvement. Visual inspection also helps you verify product packaging, ensuring consistency and compliance.
Electronics and Semiconductors
You use visual inspection to spot flaws like scratches, dents, and misalignments in electronic components. Automated systems provide uniform assessments, eliminating inconsistencies in quality. Before shipping, you conduct thorough checks to ensure all products meet specifications. This step minimizes returns and boosts customer satisfaction. Analysis of defect data helps you identify root causes and improve quality control. For example, advanced visual inspection systems have reduced surface defect-related rejections by 30% in chip manufacturing.
To improve your inspection process, follow these steps:
- Assess your current visual inspection workflow.
- Digitize inspection data for better analysis.
- Train and validate AI models for visual defect detection.
You gain faster, more accurate inspections and valuable insights for continuous improvement.
FAQ
What types of defects can you detect with visual inspection?
You can detect surface defects such as scratches, cracks, dents, misalignments, and discoloration. Visual inspection also helps you find missing parts, incorrect labels, and cosmetic flaws on products or components.
How does automated visual inspection improve quality control?
Automated visual inspection increases accuracy and speed. You reduce human error and achieve consistent results. These systems allow you to inspect more products in less time, which helps you maintain high quality standards.
What industries benefit most from visual inspection?
You see visual inspection used in manufacturing, electronics, automotive. These industries rely on visual inspection to ensure product quality, safety, and compliance with regulations.
Can you integrate automated visual inspection with existing production lines?
Yes, you can integrate automated visual inspection systems with most production lines. Modular designs and API tools help you connect new inspection technology to your current workflow with minimal disruption.
What role does lighting play in visual inspection?
Lighting plays a critical role in visual inspection. Proper lighting helps you see defects clearly and ensures accurate results. You should control glare, shadows, and environmental factors to optimize inspection conditions.
Grow your business with TradeAider Service
Click the button below to directly enter the TradeAider Service System. The simple steps from booking and payment to receiving reports are easy to operate.


