- About Us

- Our Services
- Your Industry
- Resources
- News & Blog
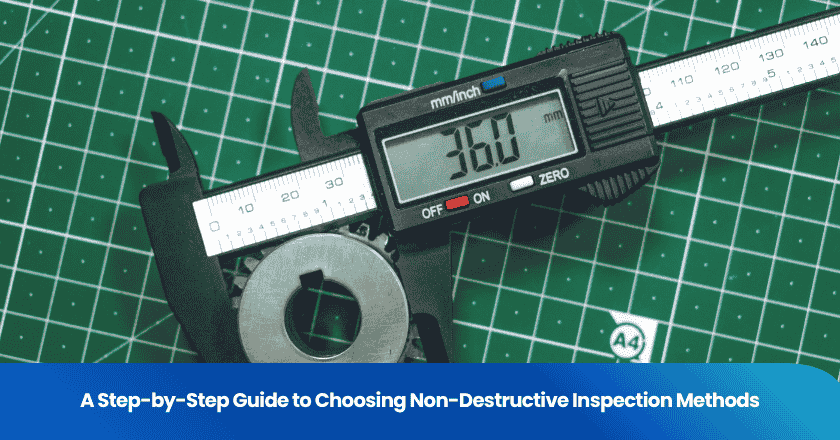
Choosing the appropriate non destructive inspection methods is crucial for your project's success. When you match your inspection technique to your objectives and material type, you enhance defect detection and reduce risks. Consider these advantages as you select your non destructive inspection methods:
- You minimize downtime, ensuring efficient operations.
- You improve safety by utilizing non destructive inspection methods that protect both personnel and the environment.
- You identify defects early, preventing minor issues from escalating into costly problems.
- You conserve resources by avoiding unnecessary repairs.
By evaluating both technical and practical aspects, you establish a strong foundation for dependable results.
Define Inspection Goals
Before you select a non-destructive inspection method, you need to clarify your inspection goals. These goals guide your entire process and help you focus on what matters most for your project. In industrial settings, inspection goals often include:
1. Detection of defects that could compromise material or structural integrity.
2. Evaluation of material properties such as hardness or density.
3. Quality control to ensure compliance with performance standards.
4. Safety assurance for critical components in industries like aerospace, automotive, and oil & gas.
5. Cost efficiency by identifying issues early and reducing maintenance expenses.
6. Regulatory compliance with industry standards and legal requirements.
Tip: Clear inspection goals help you choose the right technique and avoid unnecessary testing.
Identify Defect Types
You should identify the types of defects you want to detect. Different industries and applications target specific flaws.
Knowing which defects you need to find will help you align your inspection goals with the most effective methods.
Set Acceptance Criteria
Once you know your inspection goals and defect types, you must set acceptance criteria. These criteria define what is acceptable and what requires action. Industry standards provide guidance for different non-destructive inspection methods:
| NDT Method | Acceptance Criteria | Relevant Standards |
|---|---|---|
| Visual Testing (VT) | Surface defects, discontinuities, corrosion | ASME, AWS, ASTM, ISO |
| Ultrasonic Testing (UT) | Defect size, shape, depth | EN ISO 11666, ASME Section V |
| Radiographic Testing (RT) | Density variations, porosity | API, ASTM |
| Magnetic Particle Testing (MT) | Crack length, depth | ASME, API |
| Liquid Penetrant Testing (PT) | Surface-breaking defects | AWS, ASTM |
You can also refer to standards such as:
- ASME Boiler and Pressure Vessel Code (BPVC)
- AWS D1.1 for structural welding
- ASTM standards for materials and methods
- ISO 9712 for NDT personnel qualification
- API 1104 for pipeline welding
By setting clear acceptance criteria, you ensure your inspection goals are measurable and aligned with industry best practices.

Assess Material and Accessibility
Material Type and Condition
You need to consider the type and condition of the material before selecting a non-destructive inspection method. Different materials respond differently to inspection techniques. For example, metals, composites, and polymers each have unique properties that influence defect detection. The structure and composition of the material can affect the accuracy and sensitivity of your chosen method.
- The type of defects you want to detect plays a crucial role in your decision.
- Material properties, such as density and anisotropy, can impact inspection results. Anisotropy, which refers to directional properties in materials like composites, may affect how signals travel during testing.
- Complex geometries and layered structures often require specialized approaches.
- Some defects, such as micro-cracks or delaminations, are subtle and may need advanced techniques for reliable detection.
- The required resolution and sensitivity of the inspection method should match the expected defect size and type.
- Cost and time constraints may also influence your choice.
When you inspect materials in poor condition, you may face additional challenges:
- Detecting internal flaws becomes more difficult.
- You might need specialized equipment to achieve accurate results.
- Skilled technicians are often required to interpret complex data.
- There is a risk of interpretation errors, especially with advanced methods.
- Advanced techniques can involve higher initial costs.
Tip: Always assess the current state of the material. Materials in poor condition may limit your inspection options or require more advanced solutions.
Site Accessibility
Site accessibility can significantly impact your inspection strategy. If you work in confined spaces or areas with limited access, you may need portable or remote inspection tools. The geometry of the part and its location within a larger structure can also affect your choice.
- Limited access may restrict the use of certain equipment.
- Complex shapes or hard-to-reach areas often require flexible probes or wireless devices.
- Environmental factors, such as temperature or humidity, can influence inspection effectiveness.
You should evaluate the inspection environment early in your planning process. This ensures you select methods and tools that deliver accurate results, even in challenging locations.
Review Non Destructive Inspection Methods
Common NDT Techniques
You have a wide range of non destructive inspection methods available for evaluating materials and structures. The most widely used ndt techniques across industries include:
- Visual Testing (VT)
- Ultrasonic Testing (UT)
- Radiographic Testing (RT)
- Eddy Current Testing (ET)
- Magnetic Particle Testing
- Acoustic Emission Testing
- Dye Penetrant Testing
- Leak Testing
These non destructive inspection methods help you detect surface and subsurface defects, verify material integrity, and ensure safety in critical applications. You can select from these options based on your inspection goals, material type, and site conditions.
Note: Advanced technologies, such as phased array ultrasonic testing and digital radiography, can further improve the accuracy and reliability of your inspections.
Method Descriptions
Each of the main non destructive inspection methods operates on unique principles and serves specific applications. You should understand how these ndt techniques work to make informed decisions.
| Method | Principle & Application |
|---|---|
| Ultrasonic Testing (UT) | Uses high-frequency sound waves to detect surface and subsurface flaws. Common in aerospace, automotive, and energy sectors. |
| Radiographic Testing (RT) | Employs X-rays or gamma rays to visualize internal structures. Effective for identifying internal defects in metals and composites. |
| Eddy Current Testing (ET) | Utilizes electromagnetic induction to inspect conductive materials without direct contact. Ideal for power cables, heat exchangers, and composites. |
| Magnetic Particle Testing | Detects surface and near-surface discontinuities in ferromagnetic materials using magnetic fields and particles. |
| Visual Testing (VT) | Involves direct visual examination to identify surface defects, corrosion, or misalignments. |
| Dye Penetrant Testing | Applies liquid dye to reveal surface-breaking defects, especially in non-porous materials. |
| Acoustic Emission Testing | Monitors transient elastic waves produced by sudden structural changes, useful for real-time monitoring. |
| Leak Testing | Identifies leaks in pressure vessels and pipelines using pressure changes or tracer gases. |
You can enhance your inspection process by choosing advanced non destructive inspection methods. For example, phased array ultrasonic testing provides detailed imaging of internal structures, while digital radiography delivers faster and more precise results than traditional film. These innovations allow you to collect data in the field and maintain operations, increasing both safety and efficiency.
Match Needs to Non-Destructive Testing Methods
Selecting the right non-destructive testing methods requires a systematic approach. You need to align your project’s unique requirements with the capabilities of each inspection technique. This process ensures that your assessment delivers accurate, actionable results and supports effective damage assessment.
Align Goals with NDT Capabilities
Begin by mapping your inspection goals to the strengths of available non-destructive testing methods. Consider the type of defect, material system, component geometry, and the level of sensitivity required for your assessment. The following table helps you organize these factors for a targeted selection:
| Factor | Description |
|---|---|
| Type of defect | The specific defect that needs to be detected. |
| Material system | The type of material, such as CFRP or GFRP. |
| Component geometry and accessibility | The shape and access points of the component. |
| Required detection sensitivity | The level of detail needed in detection. |
| Inspection speed and cost | The time and financial resources available. |
You should also consider whether you need to detect surface or subsurface defects. For example, direct visual inspection works well for surface flaws, while microscopic inspection excels at subsurface damage assessment. Remote visual inspection and thermal imaging can address both surface and subsurface issues, making them versatile options for comprehensive assessment.
When you match your goals to the capabilities of non-destructive testing methods, you streamline your assessment process and improve the reliability of your damage assessment.
Pros and Cons of Each Method
Every non-destructive testing method offers unique advantages and limitations. Understanding these helps you narrow down your options based on your project’s constraints and objectives. Use the table below to compare the main methods:
| Inspection Method | Advantages | Disadvantages |
|---|---|---|
| Ultrasonic Testing (UT) | Detects flaws on and beneath the surface; High accuracy. | Not suitable for all materials; Requires skilled personnel for effective execution. |
| Eddy Current | Detects small surface and near-surface cracks; Non-contact; Portable. | Limited to conductive materials; Variable depth of penetration; Challenges with ferromagnetic materials. |
| Magnetic Particle | Effective for surface and near-surface defects in ferromagnetic materials. | Only works on ferromagnetic materials; Surface preparation needed. |
| Radiographic Testing | Visualizes internal structures; Suitable for complex assemblies. | Involves radiation safety concerns; Higher cost and slower process. |
Eddy current inspection stands out for its ability to detect surface and near-surface cracks as small as 0.5mm. You can use it through non-conductive coatings, and it works well on complex geometries. The method provides immediate feedback, requires minimal surface cleaning, and is portable. However, you must remember that it only applies to conductive materials and may struggle with variable depth or ferromagnetic materials.
When you face tight timeframes or limited budgets, inspection speed and cost become critical. Ultrasonic testing offers high accuracy for both surface and subsurface flaws, but it demands skilled technicians. Radiographic testing provides detailed internal images, making it ideal for complex damage assessment, though it requires careful handling and higher investment.
To further refine your selection, consider decision-making frameworks that prioritize your project’s most pressing needs. For example, improving data interpretation ranks highest for reliable and cost-effective assessment. Expanding non-destructive testing methods to address new defect types or integrating them into total asset management also supports long-term success.
Tip: Always match your assessment needs to the strengths of each method. Consider defect type, material, accessibility, and project constraints to ensure your damage assessment is both efficient and effective.
By following this structured approach, you can confidently select non-destructive testing methods that deliver precise assessment and support your project’s safety and quality goals.
Practical Considerations for NDT
Cost and Resources
You must evaluate the financial impact of non-destructive inspection methods before making your selection. Costs can vary widely depending on the type of testing, the complexity of the inspection, and the scale of your project. For routine NDT services, you may expect expenses ranging from $500 to $5,000. However, specialized inspections, such as a single 400 ft stack assessment, can reach up to $165,000. These figures highlight the importance of budgeting and resource allocation.
- Routine NDT services: $500–$5,000
- Large-scale or complex inspections: Up to $165,000
You should also consider the availability of skilled personnel and equipment. Some methods require advanced tools and operators with specific certification. Investing in certified technicians ensures you achieve the highest possible accuracy in your results. When you plan your inspection, factor in training, equipment maintenance, and potential downtime. These elements affect both cost and the reliability of your inspection outcomes.
Tip: Prioritize methods that balance cost, resource availability, and accuracy to maximize your return on investment.
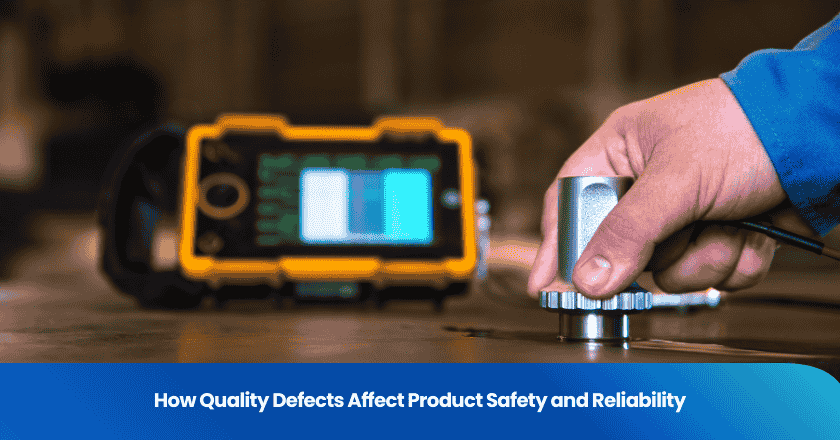
Safety and Compliance
Safety regulations play a critical role in your choice of non-destructive inspection methods. You must follow strict guidelines to protect both operators and the environment. For example, liquid penetrant testing requires you to avoid skin contact with organic compounds and maintain a clean test area. Ultrasonic testing involves managing ionizing radiation sources, monitoring exposure, and ensuring only certified operators perform the tests. Electromagnetic testing demands barriers to prevent internal burns and adherence to manufacturer recommendations.
1. Liquid Penetrant Testing: Prevent skin contact, maintain hygiene, and avoid eating in test areas.
2. Ultrasonic Testing: Control radiation sources, restrict access, and require operator certification.
3. Electromagnetic Testing: Set up barriers and follow equipment guidelines.
Compliance with industry standards, such as ASTM E1417, ensures you identify defects early and maintain the integrity of critical components. Ethical practices and certification requirements support safety and reliability in regulated industries. You must select inspection techniques that meet these standards to guarantee accuracy and protect your team.
Note: Adhering to safety and compliance requirements not only safeguards personnel but also enhances the accuracy of your inspection results.
Plan and Implement NDT
Compare and Select Methods
You need a systematic approach when you compare non-destructive testing methods. Start by listing your project requirements and inspection goals. Use a table to evaluate each method’s effectiveness, reliability, and applicability. This helps you make informed decisions and improves your final selection outcomes.
Review this table with your team. Discuss which non-destructive testing method aligns best with your goals, material type, and site conditions. Consider ndt equipment selection based on the method’s strengths and your inspection environment. You should also factor in cost, safety, and compliance before making your final choice.
Tip: Create a checklist for ndt equipment selection and method comparison. This ensures you do not overlook critical factors.
Develop Inspection Plan
After you select the most suitable non-destructive testing method, you need to develop a detailed inspection plan. This plan should cover every aspect of the ndt process, from preparation to reporting. Include the following essential components:
- Research the suitable non-destructive testing method for your product.
- Obtain proper requirements for safe and reliable operation.
- Consider the properties of materials used and process characteristics.
- Evaluate the usefulness of available ndt methods.
- Assess the economic value of the testing to be conducted.
Organize your inspection plan using a clear structure:
1. Report Information – Document the test method, inspection location, part details, and material type.
2. Inspector Information – List the qualified inspector with valid certification.
3. Purpose of Inspection – State the application and ndt equipment selection.
4. Test Results – Present inspection location, defect type, size or depth, and relevant actions in a table.
5. Interpretation and Analysis – Explain the implications of the test results for component integrity.
Review all factors before you implement your non-destructive testing plan. This step ensures accuracy, safety, and compliance with industry standards. You improve reliability and efficiency by following a structured approach to ndt.
You can streamline your inspection process by following a clear step-by-step approach. The table below highlights key actions for effective non-destructive inspection:
| Step | Description |
|---|---|
| Select NDT Method | Match technique to material and defect type. |
| Train Technicians | Ensure proper certification. |
| Use SOPs | Standardize procedures. |
| Maintain Records | Support traceability. |
A quick-reference checklist helps you maintain quality and consistency. Revisit this guide as your projects evolve to adapt to new materials and inspection scenarios.
FAQ
What is the main advantage of non-destructive inspection methods?
You can detect defects without damaging the material. This approach helps you maintain product integrity and reduce repair costs.
How do you choose the best non-destructive inspection method?
You should match your inspection goals, material type, and defect type to the strengths of each method. Consider the inspection environment and accessibility before making your decision.
Do you need special training for non-destructive testing?
You must have certified technicians for most non-destructive inspection methods. Proper training ensures accurate results and safe operation.
Can non-destructive inspection methods find internal defects?
You can use techniques like ultrasonic and radiographic testing to locate internal flaws. These methods help you assess material integrity below the surface.
How often should you perform non-destructive inspections?
You should follow industry standards and manufacturer recommendations. Regular inspections help you maintain safety and prevent unexpected failures.

Related Articles


Grow your business with TradeAider Service
Click the button below to directly enter the TradeAider Service System. The simple steps from booking and payment to receiving reports are easy to operate.