- About Us

- Our Services
- Your Industry
- Resources
- News & Blog

A final quality inspection for furniture is a release decision against the approved build and the current packed lot. It checks whether assembled units, visible finish, hardware, packaging, and identifiers match what the buyer approved. It can identify observable and agreed functional deviations. It cannot independently prove long-term strength, stability, material emissions, or every market obligation. That boundary is what makes the final report useful when a shipment decision is due.
Key Takeaways
- Define the exact furniture build before sampling, including assembly state, hardware, leaflet, finish, and carton configuration.
- Check assembly, operation, visible finish, packaging, and lot identity as connected but distinct release questions.
- Use an agreed AQL plan for a named lot, and do not stretch one sample result across a different configuration.
- Escalate strength, stability, durability, emissions, and market questions to the appropriate test method or documentation path.
Define the Finished Furniture Configuration First
Final furniture inspection starts by comparing the approved build with an assembled unit and the packed lot actually being released, not merely the product name on a purchase order. Start with a golden sample: a buyer-approved unit used to compare the finished production build.
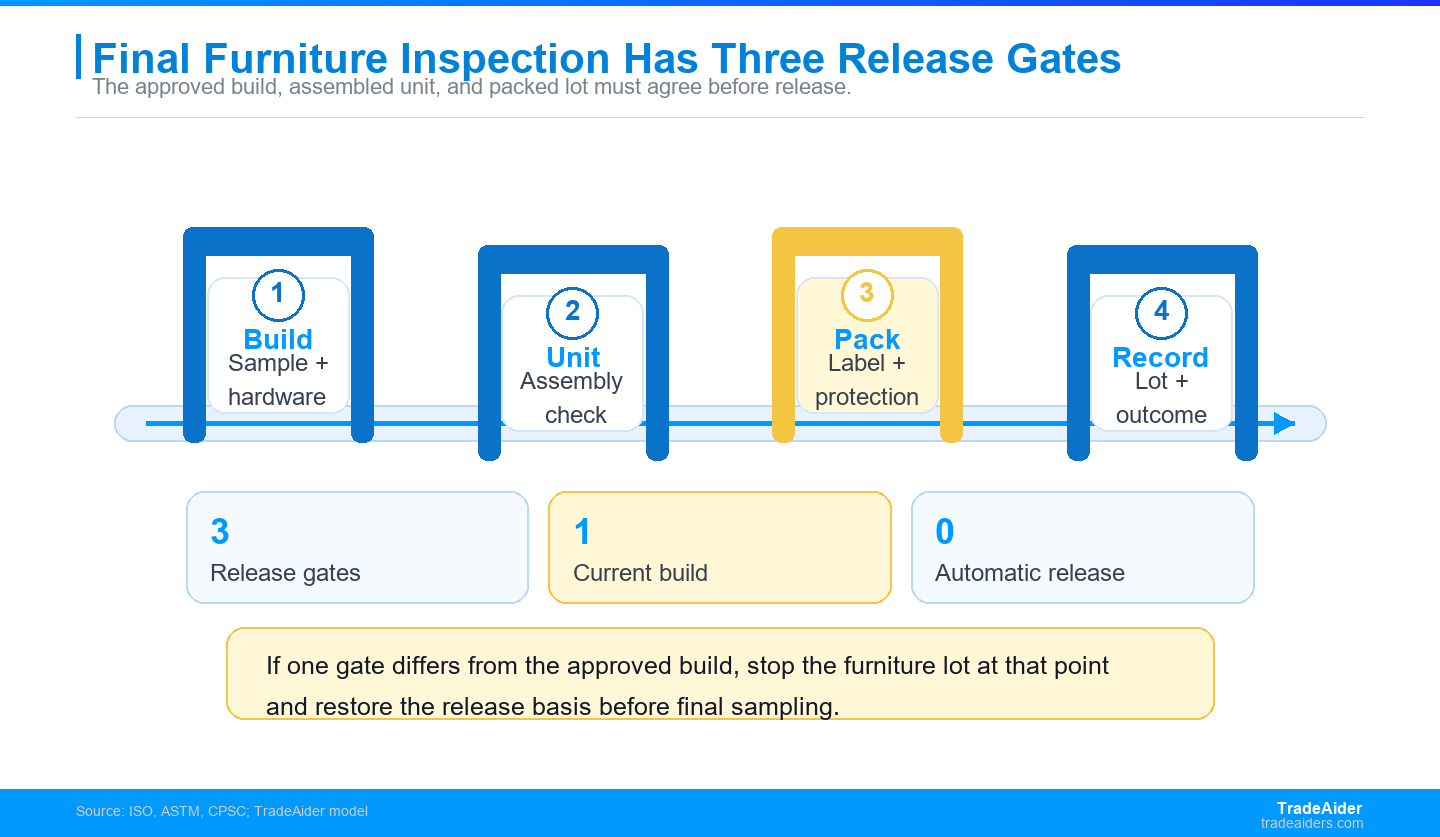
A furniture lot becomes release-ready only when the approved build, assembled unit, packed carton, and release record agree.
It should show the intended assembly, finish, drawer or door hardware, feet, fittings, hardware bag, leaflet, label, and protective packing where those items affect the buyer's decision.
Keep the approved unit and current production references together. A buyer may have one SKU with several finishes, handle options, carton sizes, or regional leaflets. If the inspection request names only the SKU, an inspector can see a clean-looking unit without knowing that the wrong rail, screw pack, warning leaflet, or carton print was supplied. For a clear baseline before the visit, review TradeAider's furniture inspection standard.
Build the comparison file around what a retailer or end user will receive: assembled dimensions where agreed, panel orientation, drawer reveals, door alignment, leg attachment, hardware count, finish reference, carton mark, and the correct instruction set. A photo is helpful when it shows version and scale, but it should not replace the physical approved unit when fit or movement matters. The comparison file should also identify who can decide whether a difference is acceptable, needs correction, or requires another evidence path.
Before the final visit, confirm that the comparison materials still describe the order being packed. Check whether a new handle supplier, altered drawer slide, revised screw bag, updated finish code, or substitute protective insert was introduced after the unit was approved. Keep a simple version note with the sample, photographs, and current carton reference. That note gives the buyer a way to distinguish a true production variation from an approved option, and it gives the factory a clear point of comparison when a finding needs review. The more clearly the build is identified, the less likely a final inspection becomes a debate about recollection.
ISO 7170:2021 specifies test methods for strength, durability, and stability of fully assembled storage units and does not itself specify acceptance criteria. That distinction is useful for final inspection: the buyer still needs an agreed build and acceptance route for the shipment. Bring that version note to the assembly station before any final comparison begins. When the build must be confirmed before output repeats, set the approved build before production.
Check Assembly, Operation, and Stability as Separate Questions
Inspect finished furniture in the state the buyer has agreed to assess. For flat-pack goods, that normally means selecting cartons, assembling the relevant units with the supplied hardware and leaflet, and recording any missing parts, wrong fittings, poor alignment, unstable feet, damaged panels, rough edges, drawer travel, door movement, or weak fastener engagement that is visible within the agreed scope. Record the location and configuration of the finding, not just the word “defect.”
Do not let one clean surface result stand in for every operational question. A chair may need a seating-structure method, a bed may need a bed-specific method, and a storage unit may need its own stability or durability path. ISO 7173:2023 specifies test methods for seating structures and states that upholstery durability is outside its scope. That is a useful reminder that product category determines the evidence needed.
ISO 19833:2018 similarly sets methods for fully assembled adult beds and states exclusions and additional-function cases. These standards are not a generic pass-or-fail list for every furniture shipment. They show why a final inspection report should say what was assembled and observed, then name any question that needs a different test or technical review.
| Check Area | Decision-Ready Record | What It Does Not Establish Alone |
|---|---|---|
| Assembly and hardware | Part, location, supplied hardware, movement, and comparison build | Long-term structural durability |
| Finish and surface | Visible scratch, color drift, veneer edge, chip, or coating issue | Adhesion, composition, or root cause |
| Packaging and identity | Carton mark, leaflet, hardware bag, protection, and lot reference | Every market obligation |
Examine Surfaces, Materials, and Hardware Without Overclaiming
Furniture surfaces deserve a structured visual check because small differences can change retailer presentation or assembly experience. Compare color, sheen, veneer matching, panel edge treatment, grain direction where specified, scratches, dents, coating gaps, glue marks, exposed fasteners, handle placement, and gaps between moving parts. Use the approved finish reference and agreed viewing condition. A photograph should show the affected surface, the furniture configuration, and the comparison context whenever practical.
A visible coating issue can justify further work, but it does not prove why the finish failed. ASTM D3359 describes tape-test methods for rating coating adhesion and states that the methods do not give an absolute bond-rupture force. Treat a suspected adhesion, emission, or material issue as a question for the applicable method or documentation, not as a conclusion from appearance alone.
A supplier audit can answer different questions, such as whether the process for panels, finishing, and hardware control is managed consistently. A final inspection records the current goods. To keep those evidence roles distinct, compare the supplier audit standard.
Inspect Packaging and Product Identity Before the Cartons Close
Packaging is part of the furniture configuration the buyer releases. Check whether carton artwork, SKU, color or finish code, quantity mark, product label, assembly leaflet, warning information, hardware bag, spare parts, and protective materials correspond to the approved build. For knock-down furniture, confirm that the pack protects edges, corners, glass, handles, and hardware in the way the buyer approved. A well-built sample is not enough if the carton sends a different product, finish, or instruction to the customer.
CPSC guidance on clothing storage units shows why category scope must be checked before a furniture rule is applied. The guidance describes defined clothing storage units and says the US requirements in 16 CFR part 1261 apply to covered units manufactured after September 1, 2023. Do not assume that every cabinet, bedside table, or shelf is within that scope; identify the current product and market first.
Use carton numbers and pallet records to keep the physical goods connected to the inspection population. If cartons contain different finishes, hardware options, or leaflet versions, either define separate lots or state how the sample represents each configuration. That simple traceability work makes a later release decision far more defensible than a general note that cartons were “checked.”
Build a Defensible Furniture Sample and Lot
ISO 2859-1:2026 provides sampling schemes indexed by acceptance quality limit for lot-by-lot inspection. An Acceptance Quality Limit (AQL) sample is a documented choice of units from a named shipment for a defined lot decision. It is useful only when the selected cartons, approved build, defect classes, and acceptance rule all refer to the same population.
Before the count begins, document the lot definition, inspection level, sample selection method, defect classes, current build, and owner of the accept, hold, or correction decision. For furniture, a sample may need units from more than one pallet or carton position so that assembly, hardware, finish, and packing observations are not concentrated in one convenient area. If the order contains different product families or configurations, do not let a passed unit from one build represent another without an agreed basis.
Sampling helps the buyer make a lot decision; it does not prove every individual unit is free of every defect. To document the sample basis before the visit, calculate the furniture AQL sample.
Separate Final Inspection from Performance and Regulatory Evidence
A final inspection can identify visible deviations and agreed operational findings, such as a drawer that does not run smoothly, an unstable assembled unit under the agreed check, a missing brace, or a mismatched warning leaflet. It should escalate when the buyer's release question is about non-visible strength, durability, tip-over performance, material emissions, fire performance, or destination-specific obligations. The next evidence path depends on the product category, market, and claim being made.
ASTM F2057-23 is a safety specification for defined clothing storage units intended to reduce tip-over hazards. It is an example of why an inspector should not describe a general furniture final check as proof of tip-over performance. First determine whether the product is within the relevant category and what evidence the buyer needs.
EU GPSR business guidance identifies warnings or safety information on a product or its packaging as part of the applicable consumer-safety path. A final inspection can compare the current leaflet or warning with the approved pack. It does not, without the applicable documentation and product assessment, establish complete regulatory conformity. When a difference appears, identify the exact product version, destination, and information item before deciding whether it is a packing correction, a technical review, or a market-evidence question. That record avoids treating an unfamiliar leaflet or warning as either a harmless cosmetic difference or automatic proof of noncompliance. Keep that scope note with the inspection record. When an approved-build mismatch appears while correction is still practical, use a during-production inspection before packing.
Worked Scenario: A Flat-Pack Nightstand No Longer Matches Its Approved Build
The following is an illustrative scenario, not a TradeAider client case. It shows why a final furniture inspection may need to stop a product family at the approved-build gate before a sample count is treated as a release answer.
The Supplier's New Drawer Rail Changed the Approved Build
A home-furnishings importer is preparing a seasonal launch of flat-pack oak-veneer two-drawer nightstands for specialty retailers in the United States and United Kingdom. The buyer needs a release decision before cartons move to port, not a broad assessment of the factory.
The illustrative order contains 1,200 nightstands in 600 cartons. The approved build includes a specified drawer rail, two confirmed drawer stops, a concealed rear brace, named hardware bags, and a labeled assembly leaflet.
The factory has completed the nightstands and packed most cartons. Each carton carries the product-family SKU and carton number, but the completed product family has not yet been compared side by side with the approved assembled unit.
An assembled production nightstand uses a different drawer rail from the approved build and reaches the stop with a visibly different drawer gap.
A second assembled production unit shows the same rail and gap condition, while the approved sample closes with the specified reveal.
The carton label and hardware bag identify the nightstand family but do not show a traceable boundary for the changed assembly build.
The observation is a sample-to-production mismatch across the product family, not a basis to guess whether the rail is unsafe or whether every carton has a distinct cause. The current carton identity does not support a narrower release boundary.
Place the 1,200-unit product family on hold while the supplier compares the production assembly with the approved build and identifies whether a conforming build exists for the shipment.
Ask the supplier to rebuild one production unit to the approved rail, stops, brace, hardware bag, and leaflet, then provide an assembled comparison record before any release decision is revisited.
Inspect a rebuilt production unit side by side with the approved sample, confirm the named hardware and drawer operation, and verify that the completed cartons correspond to the confirmed build before final sampling.
This illustrative scenario shows a configuration hold. It does not determine hardware durability, tip-over performance, material emissions, or market compliance, and it is not a TradeAider client case.
That decision is deliberately broader than a cosmetic hold. The problem is not just the drawer gap; the current production assembly is no longer the build the buyer approved. A report should preserve the approved unit, comparison photos, rail and hardware identifiers, carton population, and release owner so the next decision has a stable basis. To see the reporting approach behind that handoff, see how TradeAider documents furniture findings.
Use PSI to Confirm the Finished Furniture Lot
For TradeAider, a pre-shipment inspection (PSI) is a final inspection of a completed order with at least 80% packed for export. It represents a stable furniture and packaging population ready for a release review.
Pre-shipment inspection readiness means 100% of the order quantity is completed and at least 80% is packed for export. Once the approved build is settled, use the PSI to confirm the selected furniture lot, current carton marks, packing configuration, and agreed final checks. It is not the stage to reconstruct a build difference that was never traced or to infer which cartons contain a corrected assembly from an informal message.
Before the inspector arrives, make the approved unit, current build note, carton list, sample plan, and any earlier comparison record available in one place. Keep the selected cartons accessible for assembly where the scope calls for it, and make sure the factory has not mixed a revised hardware pack with the build that the buyer approved. This preparation does not widen the inspection scope. It makes the agreed scope possible to execute against the real goods that are about to ship.
For furniture that required a build comparison, the final scope should say whether a rebuilt production unit was confirmed against the approved sample and how the confirmed configuration connects to the packed lot. Select cartons from the defined population, assemble relevant units with the current hardware pack, and keep the report specific about the finish, operation, packaging, and identity observations made. Once the final lot is ready, book a pre-shipment furniture inspection.
Send a Furniture Final Inspection Brief
A useful furniture brief names the approved build and version, product-family SKU, finish, assembly state, hardware, leaflet, carton mark, visible criteria, operational checks, sample plan, photos required, destination, and the buyer or team who owns the disposition. It also says what to do when the production unit differs from the approved build: hold the family, request a comparison, accept a named concession, or move to another evidence path. That level of detail turns a final inspection from a generic checklist into a release record.
Give the inspector a practical decision route rather than an instruction to “check quality.” State which comparison unit is controlling, which furniture forms must be assembled, which carton identifiers belong to the final lot, and who can respond when a difference appears. Include the level of photo evidence needed for scratches, component variation, or packing damage. For products with country-specific warnings, stability questions, or material claims, identify the technical owner who will decide whether a separate method or document review is needed. This keeps the observation, the lot, and the next action connected.
For importers buying from China, real-time visibility is most useful when the observed unit, carton population, and decision owner are already connected. It lets the buyer respond while completed goods are still accessible, instead of trying to reconstruct a configuration after loading. It also gives purchasing and product teams the same evidence before they approve a concession, correction, or hold. With the brief ready, send TradeAider your furniture inspection brief.
Frequently Asked Questions
What Does Final Furniture Inspection Actually Cover?
Final furniture inspection checks the finished, configured goods and their packaging against the approved build, agreed criteria, selected sample, and current lot. Depending on the scope, it can cover assembly, visible finish, hardware, drawer or door movement, leaflets, carton marks, and protective materials. It does not automatically prove long-term strength, stability, material emissions, product safety, or destination-specific compliance. Those questions need the applicable method, test, or documentation route.
How Much Furniture Should a Final Inspector Check?
Sample size should follow the agreed AQL plan for the named shipment rather than a generic furniture percentage or a supplier preference. The buyer should define the lot, inspection level, sample selection approach, defect classes, and acceptance rule before the count begins. When one shipment includes different finishes, hardware packs, or builds, the plan should state whether those configurations are separate lots or how each is represented in the sample.
Can Final Inspection Prove Furniture Is Safe?
Final inspection can identify visible and agreed functional deviations, but it cannot independently demonstrate stability, durability, material emissions, or regulatory conformity. It can show that a current drawer rail differs from the approved build or that a leaflet is missing from a carton. It cannot turn those observations into a complete safety conclusion without the applicable product category, test method, technical evidence, and market-specific assessment.
When Is Furniture Ready for Pre-Shipment Inspection?
Furniture is ready for a PSI when 100% of the order quantity is completed and at least 80% is packed for export. The approved build, current hardware and leaflet, lot identifiers, and any prior correction records should also be available. That gives the inspection a stable population and a clear comparison basis, especially when a production build has been questioned and must be confirmed before the lot is released.

Related Articles


Grow your business with TradeAider Service
Click the button below to directly enter the TradeAider Service System. The simple steps from booking and payment to receiving reports are easy to operate.