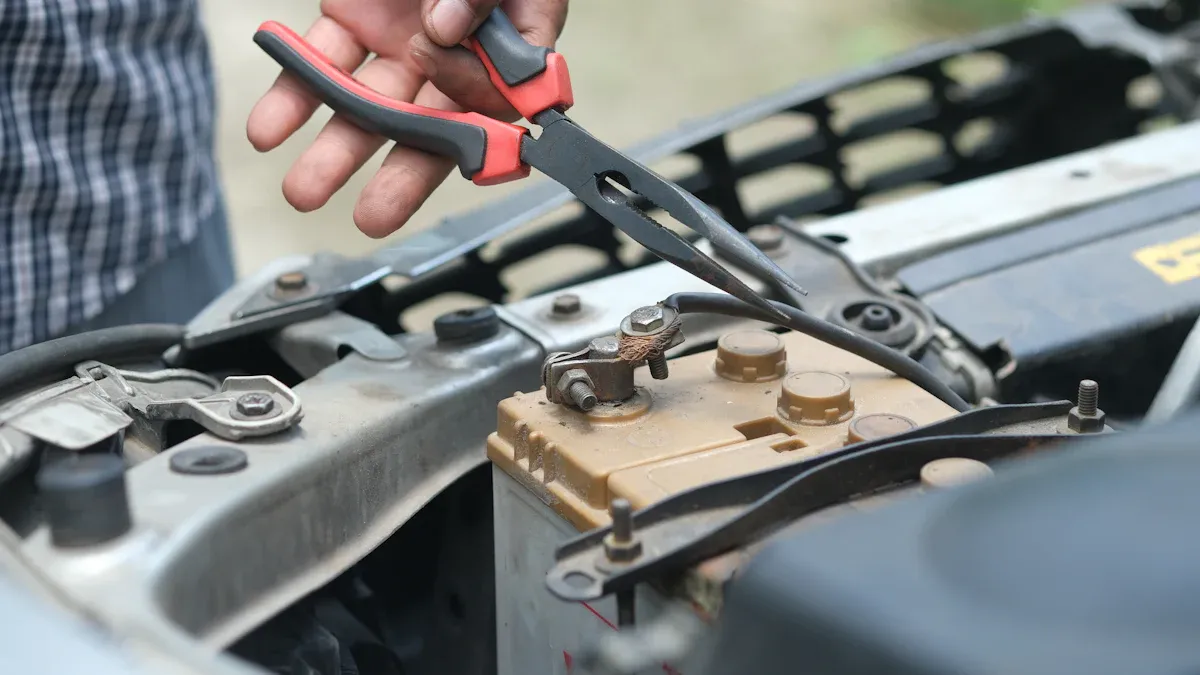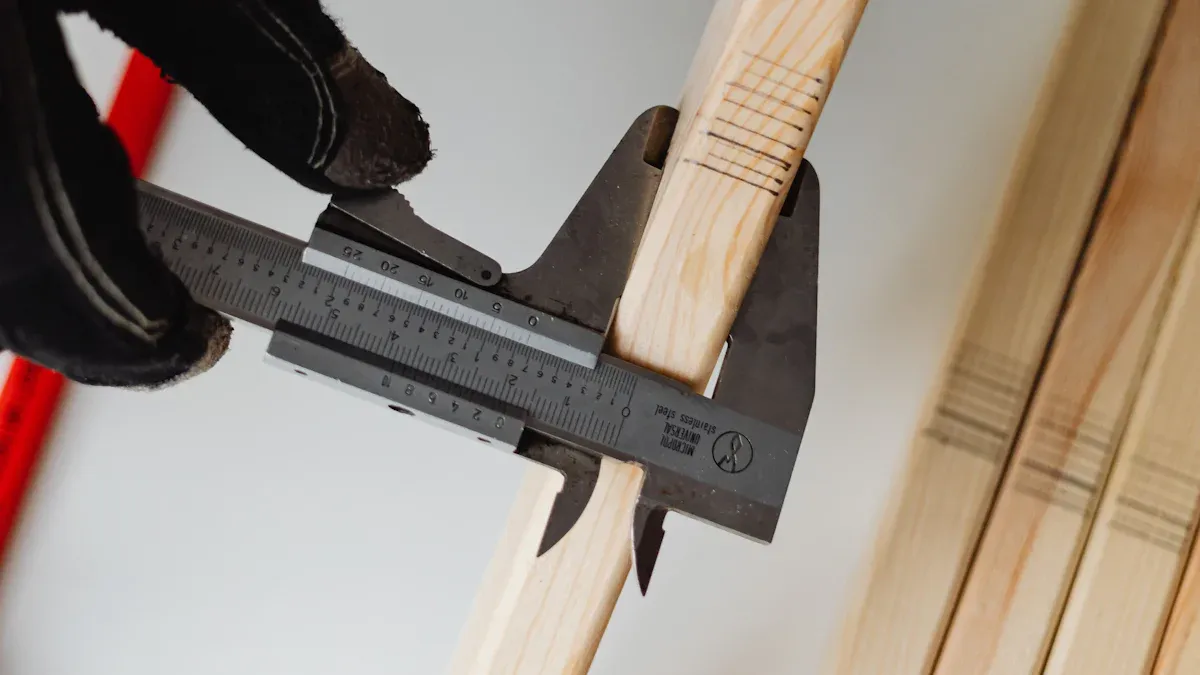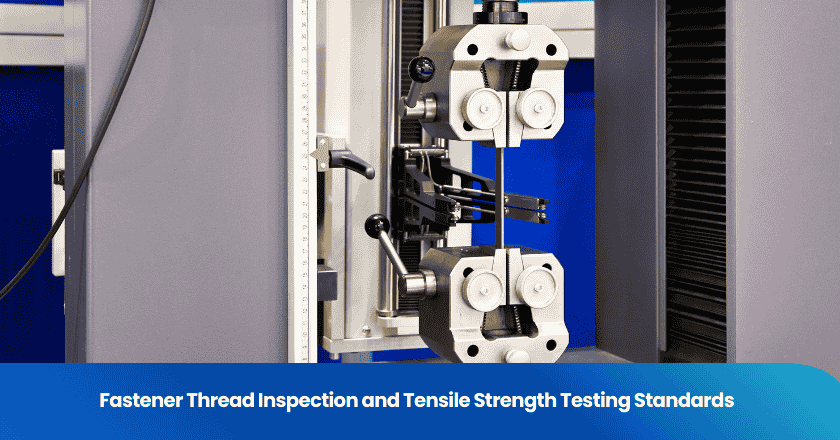
In the professional tool industry, mechanical performance is defined by two critical parameters: material hardness and structural torque capacity. For Hardline and Industrial Products, hand tools such as wrenches, pliers, and drivers must survive extreme mechanical loads without suffering from brittle fracture or plastic deformation. Rockwell hardness testing (specifically the HRC scale) provides an objective measure of the steel's resistance to wear, while torque strength verification validates the tool's ability to transmit rotational force. Understanding the material science behind these tests is essential for manufacturers seeking compliance with global standards like ISO and ASME, and for buyers prioritizing safety and longevity.

Key Takeaways
- Rockwell Hardness (HRC) is the primary scale for hand tools, balancing the trade-off between edge retention and brittleness.
- Torque strength verification is critical to prevent tool "slippage" or catastrophic failure under load.
- Metallurgical composition, such as the ratio of Chromium to Vanadium, dictates how a tool responds to heat treatment.
- Regular calibration of testing equipment (ISO 6789) is mandatory for reliable manufacturing quality inspections.
- Environmental factors like temperature and surface oxidation can skew Rockwell readings by several points.
- Buyers should prioritize tools with traceable ISO 9001 and ISO 17025 certifications for professional applications.
Metallurgical Foundations: Tool Steel and Heat Treatment
The durability of a hand tool begins at the molecular level. High-quality tools are typically manufactured from alloy steels such as 40CrV (Chrome Vanadium) or S2 tool steel. These materials undergo a heat treatment process involving quenching (rapid cooling) and tempering (reheating). The goal is to transform the steel into a "Martensite" structure—an extremely hard but brittle state—and then temper it to achieve the desired balance of ductility and toughness.
Chrome Vanadium (Cr-V) vs. S2 Steel
Cr-V steel is the industrial standard for wrenches and sockets. Chromium provides corrosion resistance and increased hardenability, while Vanadium refines the grain structure, providing superior fatigue resistance. S2 steel, often used for screwdriver bits, contains higher Silicon and Molybdenum content, allowing for a higher HRC (up to 62) without the risk of shattering under high-frequency impact.
| Material | Typical HRC Range | Mechanical Advantage | Common Application |
|---|---|---|---|
| Chrome Vanadium (Cr-V) | 42 - 50 (Wrench) | High toughness; resists bending | Sockets, Spanners, Pliers |
| S2 Tool Steel | 58 - 62 | Extreme hardness; resists rounding | Hex keys, Screwdriver bits |
| Carbon Steel (Heat Treated) | 35 - 45 | Cost-effective for DIY use | Basic hammers, basic pliers |
The Science of Rockwell Hardness Testing (HRC)
Rockwell hardness testing is a differential-depth method. Unlike the Brinell test, which measures the diameter of an impression, the Rockwell test measures the depth of penetration. In the HRC scale (used for hardened steels), a diamond cone indenter is used. A minor load (10kgf) is first applied to establish a zero datum, followed by a major load (150kgf). The difference in depth between the two applications—measured in increments of 0.002mm—provides the Rockwell number.
Technical Challenges in Hardness Validation
The accuracy of an HRC reading is sensitive to surface preparation. Any "decarburization" (a soft surface layer caused by improper heat treatment) or "mill scale" will result in a lower-than-actual reading. During a quality manufacturing inspection, the surface must be ground flat and clean to ensure the indenter makes direct contact with the core material.
Engineering Focus: The "Curvature Correction" factor is essential when testing round handles or cylindrical sockets. If the test is performed on a curved surface without correction, the resulting HRC value will be artificially low because the material "flows" away from the indenter more easily.
Torque Strength and the Yield Point
Torque is a measure of rotational force (Newton Meters or Foot-Pounds). In hand tool validation, torque testing is performed to identify two distinct points: the Proof Torque and the Breaking Torque. Standard-compliant tools must withstand the proof torque (defined by ASME B107 or ISO 1711) without any permanent deformation.
Elastic vs. Plastic Deformation
When torque is applied, a tool initially undergoes "Elastic Deformation"—it bends but returns to its original shape. If the force exceeds the "Yield Point," the tool enters "Plastic Deformation," resulting in permanent twisting or "rounding" of the tool's drive end. For professional users, a tool must have a high yield point to maintain its precision fit over years of service.
| Standard | Tool Type | Test Parameter | Requirement |
|---|---|---|---|
| ISO 1711-1 | Combination Wrench | Series C (High Torque) | Minimum Proof Torque (Nm) by size |
| ASME B107.100 | Sockets / Drivers | Static Torque | 1.5x working load without failure |
| ISO 6789 | Torque Wrenches | Calibration Accuracy | +/- 4% of reading (Standard) |
On-Site Verification vs. Laboratory Calibration
While on-site torque testers are convenient for daily checks, they are susceptible to "operator influence" and environmental noise. For high-stakes industrial procurement, laboratory validation using a Mechanical Loader is required. A mechanical loader applies torque at a constant, low-speed rate, eliminating the "jerking" motion often associated with hand-testing, which can artificially trigger a higher peak torque reading.
Furthermore, quality control and assurance protocols mandate that torque sensors themselves be calibrated against a primary standard. In a professional factory audit, the inspector must verify that the torque testers are within their recalibration window and that the ambient temperature is controlled, as steel's elasticity changes with heat.

Global Standards and Compliance Frameworks
Hand tool manufacturers must navigate a complex web of regional regulations. In the United States, ASME (American Society of Mechanical Engineers) standards are dominant, focusing on safety factors and dimensional precision. In Europe, ISO (International Organization for Standardization) and DIN (German Institute for Standardization) provide the technical benchmarks. For global trade, products that meet both ISO and ASME criteria are considered the most "marketable" and "reliable."
Traceability and Certification
A legitimate tool manufacturer should provide a Material Test Report (MTR) and a Certificate of Calibration. The MTR confirms the chemical composition of the steel (e.g., specific Carbon and Chromium percentages), while the calibration certificate proves that the hardness and torque testers were verified against national standards (like NIST or PTB).
Expert Tip: When evaluating a batch of tools, do not rely on a single Rockwell test. Material hardness can vary throughout a single production run due to "hot spots" in the heat treatment furnace. A statistically sound product inspection plan should involve testing samples from the beginning, middle, and end of the production batch.
Practical Guide for Professional Buyers
When procuring hand tools for industrial use, a checklist of technical indicators can prevent costly procurement errors. Beyond the brand name, look for these specific physical and documentation markers:
- Finish Quality: A mirror-polished or satin chrome finish is not just aesthetic; it prevents hydrogen embrittlement and surface-initiated cracking.
- Stamping vs. Etching: High-quality tools often have deep-forged size markings. Laser etching is common but can be a sign of lower-cost manufacturing if the steel itself isn't forged.
- Handle Ergonomics: Multi-component grips should be tested for "bond strength" to ensure the rubber does not separate from the plastic core under torque.
- Verification Evidence: Request a "Torque to Failure" test report for a few samples to understand the safety margin beyond the required proof torque.
Integrating these technical checks into your manufacturing quality control steps ensures that the tools delivered will perform safely in the hands of the end-user, reducing liability and replacement costs.
Frequently Asked Questions (FAQ)
Is a higher HRC always better for hand tools?
No. While a higher HRC means better wear resistance, it also increases brittleness. For example, a screwdriver bit at 62 HRC is perfect for driving screws but might shatter if used as a pry bar. A wrench needs a lower HRC (45-48) to allow for some "flex" without snapping.
What is the difference between static and dynamic torque?
Static torque is the force applied slowly, such as with a manual wrench. Dynamic torque involves speed and momentum, such as with a pneumatic impact wrench. Hand tools are primarily validated using static torque protocols.
How can I tell if a tool has been properly heat treated without a tester?
While not definitive, the "Ring Test" is an old machinist's trick. Striking a properly heat-treated steel tool against a hard surface produces a high-pitched "ping" sound. A "thud" or dull sound can indicate internal cracks or improper tempering.
Why do my HRC readings vary on the same tool?
This is often caused by surface decarburization or the "Anvil Effect." If the tool is not sitting perfectly flat on the tester's anvil, or if the surface hasn't been polished, the energy of the major load is partially lost to the movement or surface compression, resulting in inconsistent readings.
What is the importance of ISO 17025 in tool testing?
ISO 17025 is the accreditation for testing and calibration laboratories. A test report from an ISO 17025 lab carries significantly more weight because it proves the lab has been independently audited for technical competence and data integrity.
Développez votre entreprise avec le Service TradeAider
Cliquez sur le bouton ci-dessous pour accéder directement au Système de Service TradeAider. Les étapes simples de la réservation et du paiement à la réception des rapports sont faciles à utiliser.


