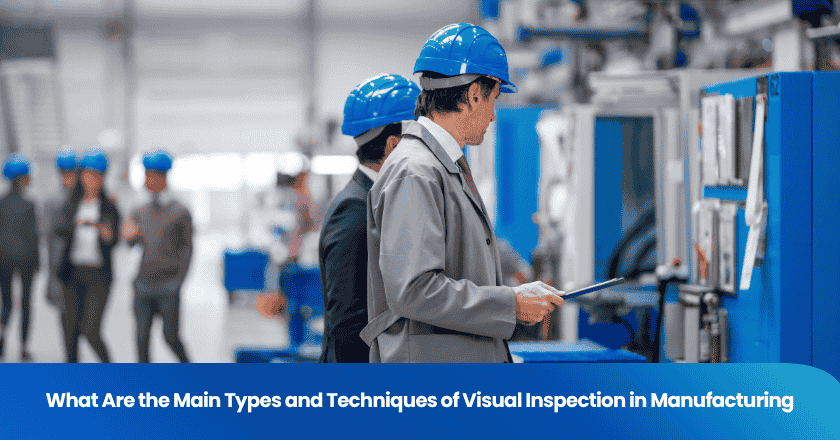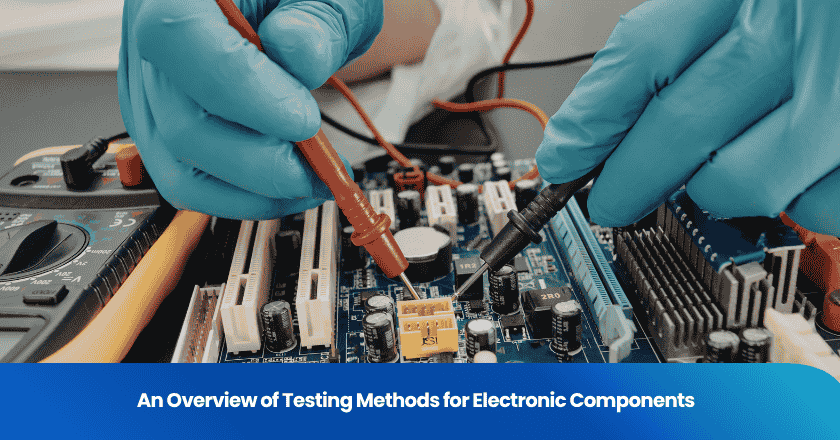
You rely on visual inspection manufacturing to maintain high standards in your production process. This method involves checking products for surface flaws, dimensional accuracy, and other defects before they reach your customers. Manual and automated visual inspection serve as the two main approaches, with specialized techniques enhancing detection capabilities. Automated systems check weld seams and paint layers, identifying issues early and reducing costly recalls. Investing in these systems improves product quality, efficiency, and long-term business success.
Visual Inspection Manufacturing Overview
Definition and Importance
Visual inspection manufacturing plays a vital role in maintaining product quality and safety. You use this non-destructive testing method to assess the condition, quality, and integrity of products by examining their external surfaces. Inspectors rely on sight and sometimes touch to detect defects such as cracks, corrosion, and misalignments. This approach is essential for identifying inconsistencies and ensuring only defect-free items reach consumers.
Visual inspection is the cornerstone of any effective quality control system. It is a rapid, non-destructive method used to identify and classify imperfections in materials and products.
You find visual inspection especially valuable in maintenance and quality control processes. It helps you evaluate compliance with standards and spot defects before products leave the facility. The method supports safety regulations and ensures your manufacturing operations meet industry requirements.
- Visual inspection is a fundamental aspect of non-destructive testing (NDT).
- It is valued for its simplicity and cost-effectiveness in quality control.
- The method is widely used to ensure safety regulations are met across different manufacturing sectors.
Main Types
You can choose between manual and automated approaches in visual inspection manufacturing. Manual inspection relies on trained personnel to visually assess products, making it adaptable for small to medium production volumes. Automated inspection uses advanced systems and computer vision to rapidly analyze products, offering superior accuracy and consistency in high-volume settings.
Automated systems reduce human error and provide long-term savings by lowering labor costs. Manual inspection remains cost-effective for smaller operations and allows inspectors to quickly adapt to new products. You must evaluate your production needs to select the most suitable method.
Manual Visual Inspection
Manual visual inspection remains a cornerstone in quality control for many manufacturing environments. You rely on trained personnel to detect defects, measure dimensions, and ensure products meet specifications. This approach offers flexibility and immediate feedback, especially for small-batch or custom production.
Direct Visual Inspection
Direct visual inspection involves examining products with the naked eye or using simple tools such as magnifying glasses and flashlights. You assess the product’s surface, shape, and assembly for visible flaws. This method requires sharp attention and a systematic approach.
Tip: Regular vision screening and ongoing training help maintain high inspection standards.
To perform direct visual inspection effectively, you need to:
- Maintain good lighting conditions.
- Use standardized checklists.
- Rotate inspectors to reduce fatigue.
- Undergo initial training and periodic requalification, typically every 6–12 months.
Surface Inspection
Surface inspection focuses on identifying imperfections that affect appearance, function, or durability. You look for scratches, dents, cracks, and coating issues. Surface inspection plays a critical role in visual inspection manufacturing, as surface flaws often indicate deeper problems.
You commonly encounter these defects during surface inspection:
- Scratches, dents, pits, and cracks
- Bubbling and flaking of coatings
- Orange peel texture and dewetting
Surface inspection helps you catch issues early, preventing costly rework or product recalls.
Dimension Inspection
Dimension inspection ensures that each product meets specified measurements. You use calipers, micrometers, and gauges to check length, width, height, and diameter. This process verifies that parts fit together correctly and function as intended.
However, manual dimension inspection often faces challenges:
- Results can vary between operators.
- Human error and inspection fatigue reduce accuracy.
- Inconsistencies increase defect rates and lower yield.
- Manual methods struggle to keep up with high-speed production lines.
- Limited documentation can delay corrective actions.
You must address these challenges through regular training, clear procedures, and periodic performance assessments.
Sampling Methods
You rarely inspect every single product in high-volume manufacturing. Instead, you use sampling methods to balance efficiency and quality. Sampling involves selecting a subset of products for inspection based on statistical principles.
Common sampling methods include:
- Random sampling: Select products at random from a batch.
- Systematic sampling: Inspect every nth item on the production line.
- Stratified sampling: Divide products into groups and sample from each group.
Sampling reduces inspection time and labor costs while still providing a reliable picture of overall quality. You must choose the right sampling plan based on production volume, defect risk, and regulatory requirements.
Note: Proper training in sampling techniques and regular review of inspection results help you maintain consistent quality standards.
Automated Visual Inspection Manufacturing
Automated visual inspection manufacturing transforms your quality control process by using advanced technologies to detect defects with speed and precision. You can rely on these systems to maintain high standards, especially in large-scale or high-speed production environments.
Technology and Systems
You see automated visual inspection systems combining cameras, sensors, and lighting with powerful software to analyze products in real time. These systems operate continuously, providing consistent results and reducing the risk of human error. You benefit from several recent advancements:
- Integration of artificial intelligence and machine learning for complex pattern recognition.
- Use of IoT devices for real-time data sharing and predictive maintenance.
- Robotics that enable flexible, mobile inspection units on the factory floor.
- Edge computing, which reduces latency and improves data security.
These innovations enhance precision and reduce defects in your manufacturing processes. You also gain improved operational efficiency through automation. Automated systems support smart manufacturing initiatives, including mass customization and sustainability goals.
Automated visual inspection systems work tirelessly, unlike human inspectors who may overlook 20-30% of defects due to fatigue or attention drift. You achieve more consistent quality and lower operational costs by minimizing these risks.
Tip: Automated systems allow you to scale up production without sacrificing quality, making them ideal for high-volume manufacturing.
Computer Vision
Computer vision stands at the core of automated visual inspection. You use this technology to capture and interpret images of products, identifying defects that might escape the human eye. Computer vision systems deliver several key improvements:
| Metric | Improvement |
|---|---|
| Accuracy | 63% to 97% |
| Inspection Speed | Hundreds of items analyzed in the time a human inspects a few |
| Continuous Operation | 24/7 without fatigue |
You benefit from enhanced accuracy and efficiency in defect detection. Computer vision provides consistent and objective assessments, reducing the impact of human error. These systems operate around the clock, ensuring timely inspections and supporting your production goals.
- Computer vision enhances accuracy and efficiency in defect detection.
- You receive objective, repeatable results that improve overall product quality.
- Continuous operation means you never miss a defect due to inspector fatigue.
Microscopic Inspection
Microscopic inspection takes your quality control to the next level by revealing flaws invisible to the naked eye. You use high-resolution cameras and AI-powered analysis to identify microscopic cracks, surface irregularities, or contamination. This approach offers several advantages:
- Superior accuracy in defect detection, as AI systems spot subtle irregularities.
- Real-time quality control at scale, evaluating thousands of items per hour.
- Minimized human error, ensuring consistent quality control even in high-speed environments.
You rely on microscopic inspection for industries where even the smallest defect can compromise safety or performance. Automated systems provide continuous, reliable monitoring, which is essential for maintaining strict quality standards.
Note: Manufacturers often measure the return on investment for these systems by comparing financial gains from improved quality and efficiency against the total project cost. The formula ROI (%) = [(Financial Value - Project Cost) / Project Cost] × 100 helps you assess the true value of automation in your operation.
Automated visual inspection manufacturing empowers you to achieve higher accuracy, greater efficiency, and more reliable quality control than manual methods. You can adapt these systems to meet the demands of modern manufacturing and ensure your products meet the highest standards.
Specialized Techniques
Liquid Penetrant Testing
You can enhance defect detection in visual inspection manufacturing by using liquid penetrant testing. This method helps you find surface-breaking flaws that might escape the naked eye. You start by applying a special penetrant to the product’s surface. The penetrant seeps into any cracks or pores through capillary action. After a set time, you remove the excess penetrant and apply a developer. The developer draws out the penetrant from defects, making them visible under proper lighting. This process allows you to spot even tiny imperfections that could affect product quality.
Tip: Liquid penetrant testing works well for metals, plastics, and ceramics. You can use it for both small components and large structures.
Other Non-Destructive Methods
You have access to several advanced techniques that support visual inspection manufacturing, especially in industries with strict quality requirements. These methods help you detect hidden flaws and ensure compliance with safety standards.
| Technique | Application in Industry |
|---|---|
| Thermal Imaging | Detects internal flaws and temperature variations |
| Ultrasonic Testing | Complements traditional inspections for accuracy |
| 3D Cameras | Provides precise dimensional analysis in aerospace |
| Drones | Accesses hard-to-reach areas in construction |
You can use these methods in various fields:
- Vehicle components: Identify wear, cracks, and alignment issues.
- Aerospace: Detect cracks and stress fractures in aircraft parts.
- Construction: Assess structural integrity and compliance with building codes.
You also benefit from regular visual inspections, which remain essential for safety and efficiency. Advanced techniques improve the accuracy and reliability of your inspections, helping you maintain high standards across your operations.
Benefits, Challenges, and Best Practices
Advantages
You gain significant benefits by adopting both manual and automated visual inspection manufacturing. Manual inspection leverages your team’s experience and judgment, which enhances product consistency. Standardized processes reduce variability and ensure reliability across shifts. When you implement automated systems, you see measurable improvements:
- Elimination of rework and scrap costs.
- Automation of repetitive tasks, reducing labor expenses.
- Real-time monitoring for continuous improvement.
- Increased throughput and efficiency.
You also benefit from AI systems that balance speed and precision, helping you meet production targets while maintaining quality standards.
Common Challenges
You may encounter several challenges when integrating visual inspection manufacturing into your workflow:
- Human inspectors can miss up to 20-30% of defects due to fatigue or repetitive tasks.
- Environmental factors can affect data quality, leading to unreliable results.
- Managing large volumes of inspection data can be complex.
- Integrating new systems with existing workflows often requires significant effort.
- Real-time data transmission introduces security and privacy concerns.
You must address these issues to ensure consistent and reliable inspection outcomes.
Best Practices
To maximize the effectiveness of your visual inspection manufacturing, follow these best practices:
- Clearly define inspection requirements before selecting a system.
- Start with pilot projects to demonstrate value and refine processes.
- Ensure proper lighting and imaging conditions for accurate results.
- Use magnification tools for detecting subtle imperfections, especially in precision industries.
- Develop comprehensive training programs for your staff.
- Conduct regular audits and maintain thorough documentation.
- Understand AQL figures to determine appropriate sampling sizes.
- Foster communication between teams to support continuous improvement.
Tip: Combining human expertise with automated systems increases confidence in product quality and supports higher customer satisfaction.
You have explored the main types and techniques of visual inspection manufacturing, from manual checks to advanced automated systems. Matching inspection methods to your production needs ensures optimal results.
- Early defect detection improves quality, safety, and compliance.
- Manual methods may miss internal flaws, while automation boosts consistency.
AI-driven visual inspection can cut defect detection costs by nearly 50%.
1. Implement automated inspection with machine learning.
2. Calibrate equipment and analyze inspection data regularly.
Evaluate your current process and adopt continuous improvement for lasting quality gains.
FAQ
What is the main purpose of visual inspection in manufacturing?
You use visual inspection to detect defects, ensure product quality, and maintain safety standards. This process helps you identify issues early and prevent faulty products from reaching customers.
How does automated visual inspection differ from manual inspection?
Automated visual inspection uses cameras and software to analyze products quickly and consistently. Manual inspection relies on your trained personnel to spot defects by sight, which can be slower and less consistent.
Which industries benefit most from visual inspection manufacturing?
You find visual inspection essential in automotive, electronics, aerospace, and food production. These industries require strict quality control and safety compliance.
Can you combine manual and automated inspection methods?
You can combine both methods to improve accuracy and reliability. Manual checks catch unique defects, while automated systems handle repetitive tasks and large volumes.
What are common challenges in implementing visual inspection systems?
You may face challenges such as training staff, integrating new technology, and managing inspection data. Addressing these issues helps you achieve consistent quality results.
Grow your business with TradeAider Service
Click the button below to directly enter the TradeAider Service System. The simple steps from booking and payment to receiving reports are easy to operate.


